How to install the CrystalHD Video Decoder
Equipment Needed:
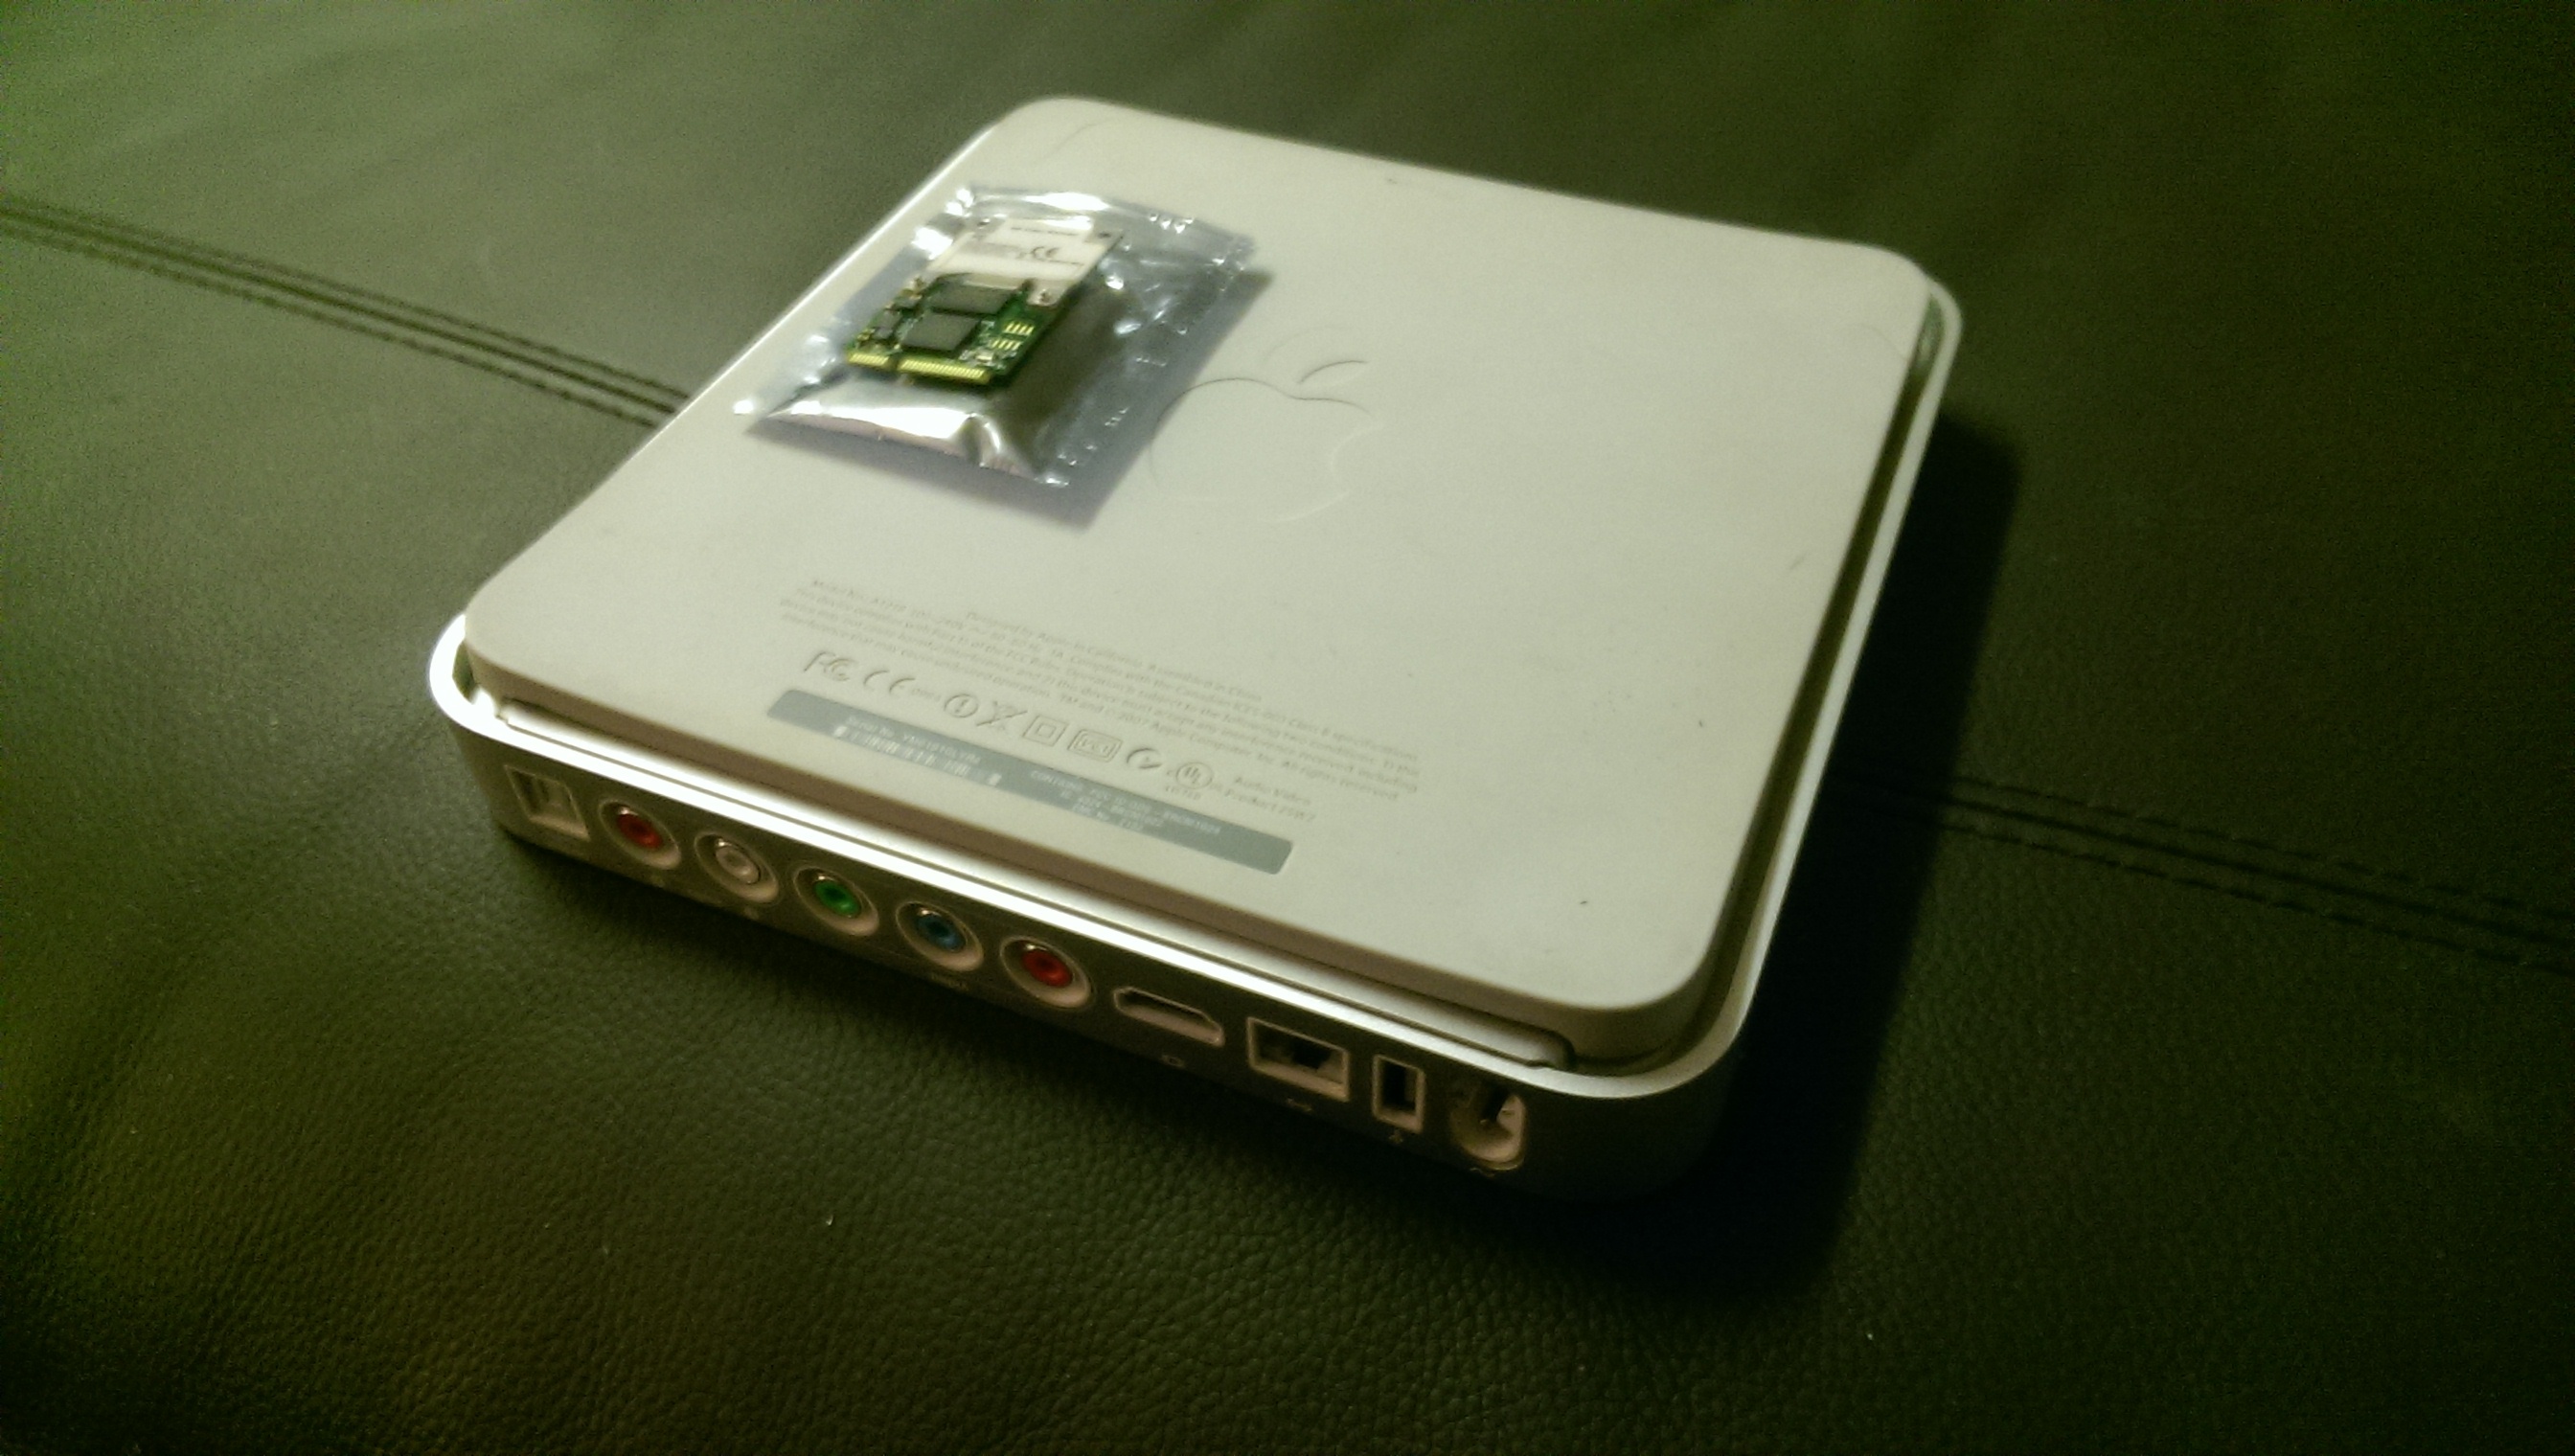
- First Generation Apple TV (ATV1)
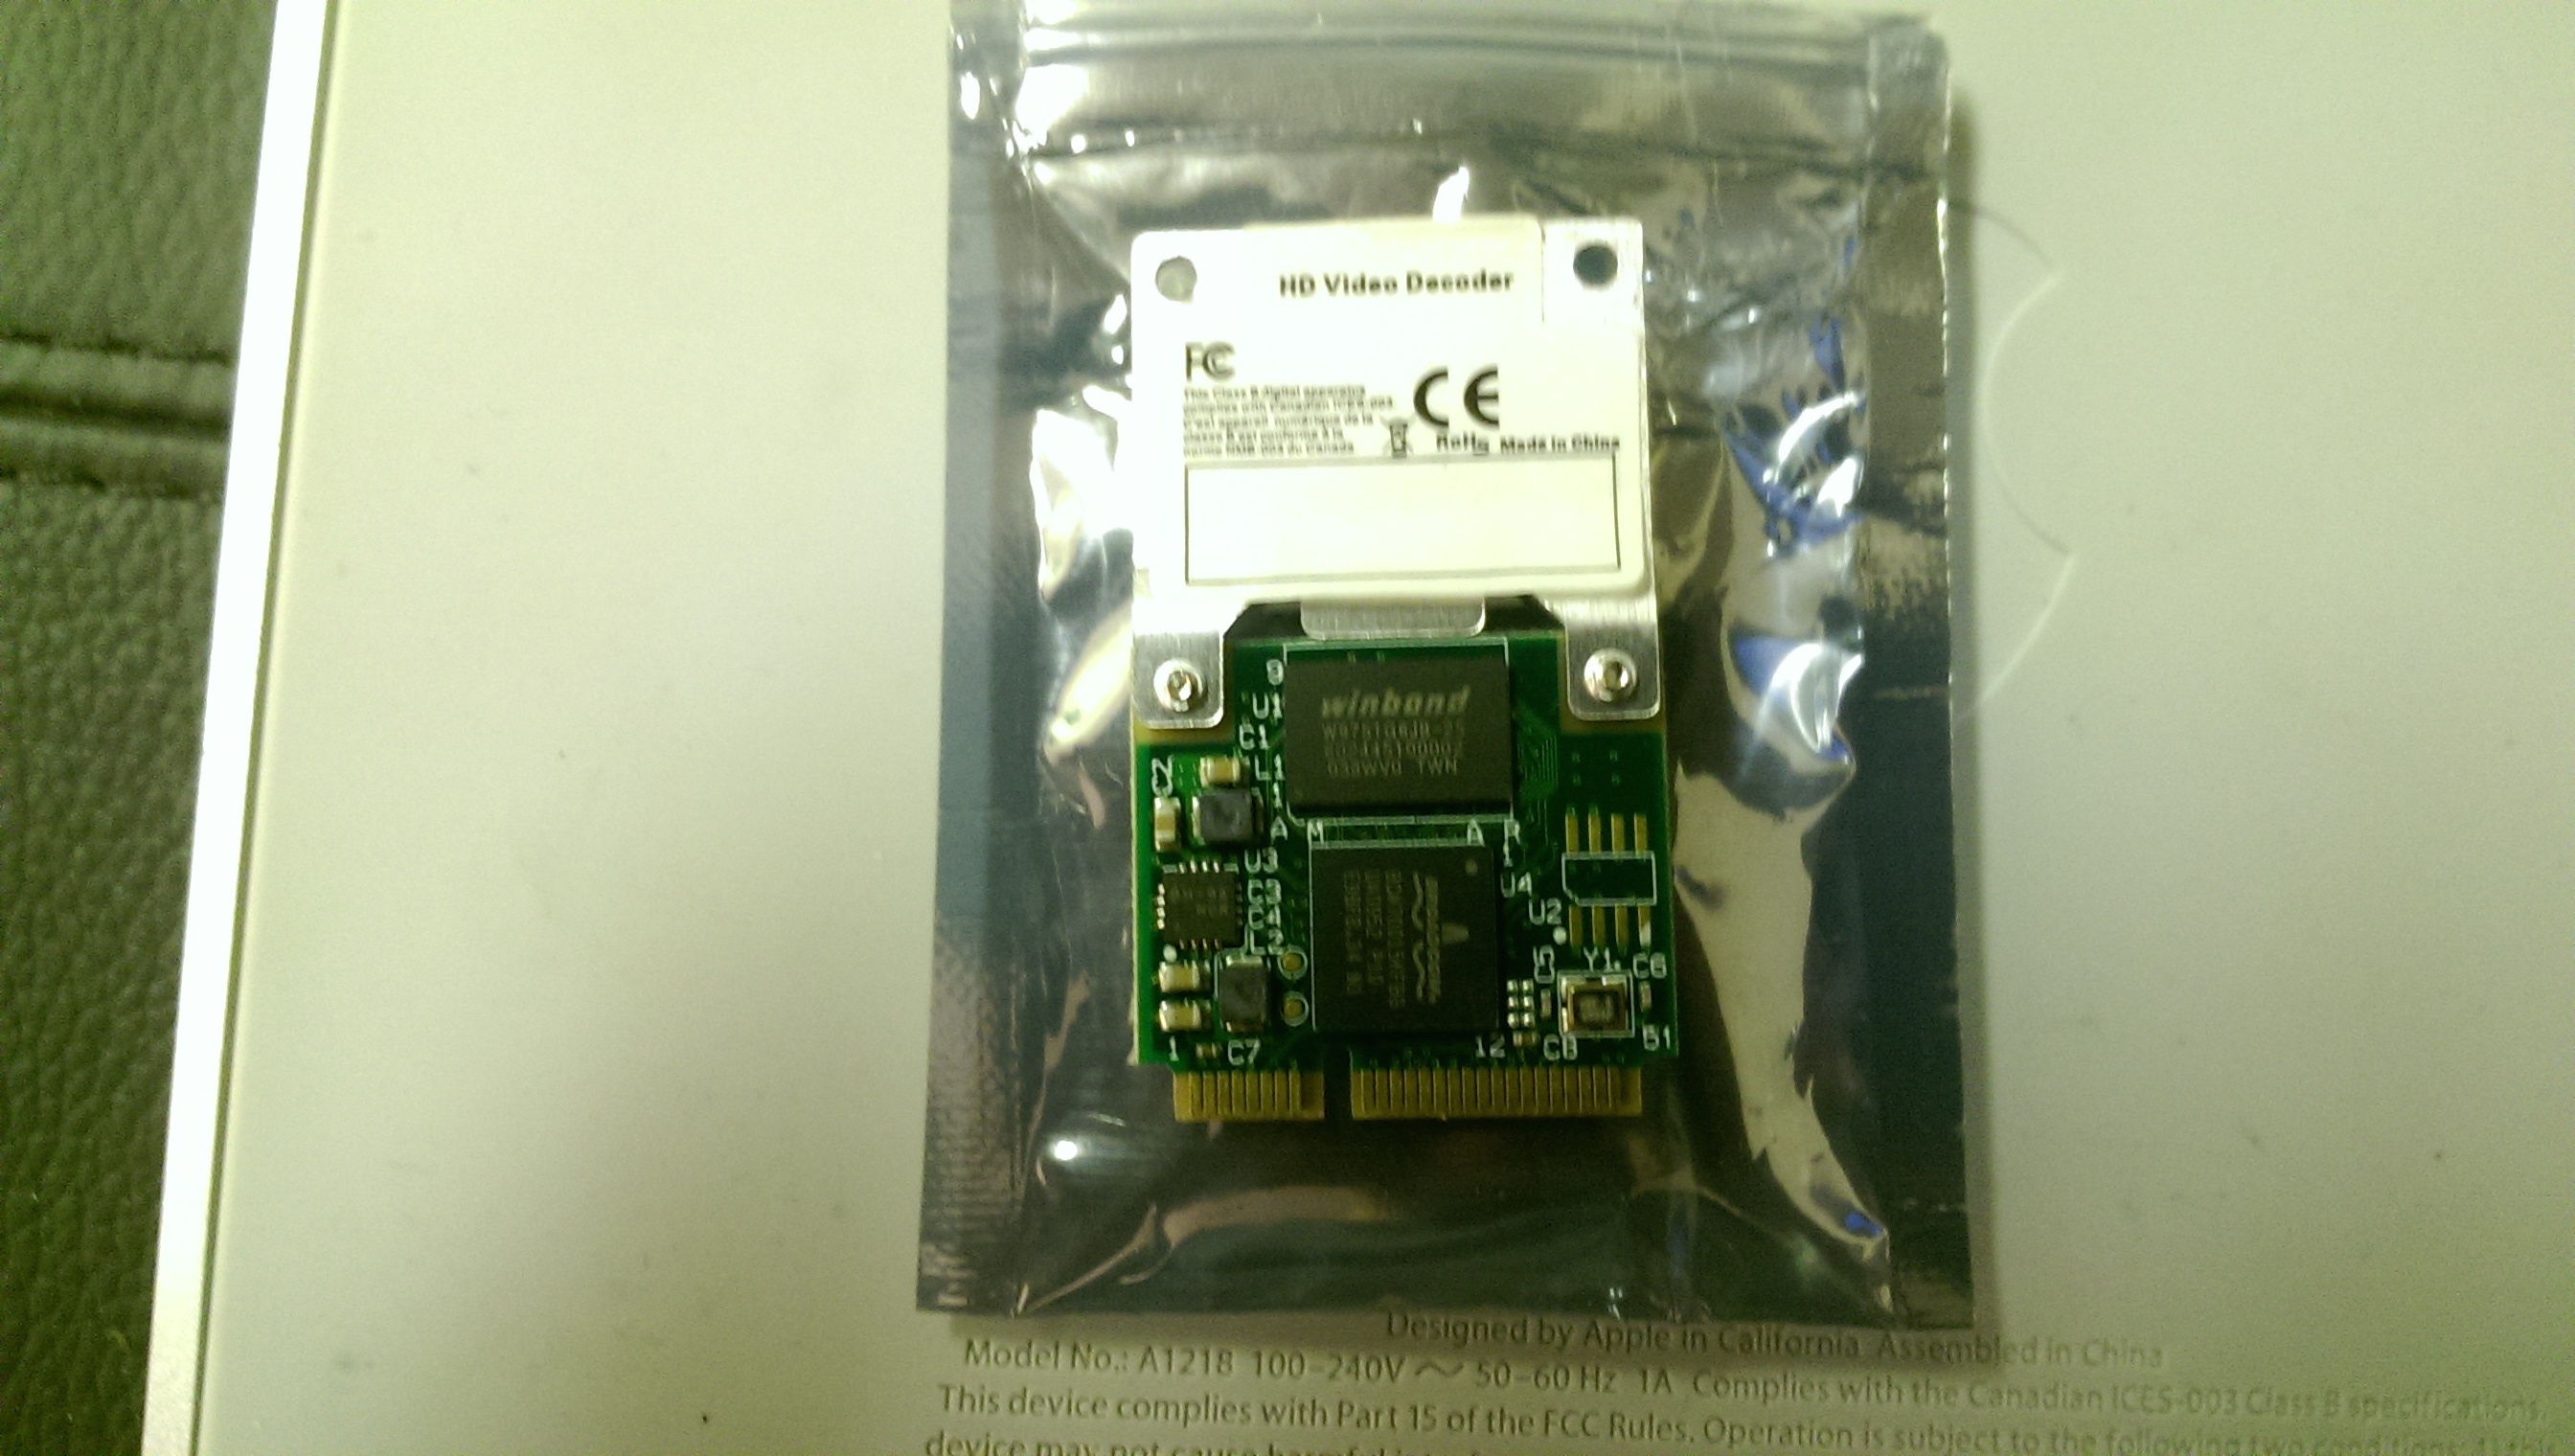
- Broadcom CrystalHD BCM70015 Card (older BCM70012 will work, but not as well)
- Torx T10 Screwdriver/Bit (For case screws)
- Torx T8 Screwdriver/Bit (For Wifi card removal)
- Non Conductive Tape
- CR2032 Button Cell Battery (This is optional, but is easy to replace while case is open)
Step 1 – Lift the corners of the rubber cover on the bottom
- There is a rubber cover on the bottom of the ATV1, which covers the screws that hold the case together.
- The rubber cover is held on with strong adhesive, so be careful when lifting the corners so you don’t damage it. Gentle use of a hair dryer can be used to help soften the adhesive.
Note: Some users prefer to remove the rubber covering fully, to improve cooling.
If you do this, we suggest you buy 4 little adhesive rubber feet from a hardware store. so that the ATV1 is held above the surface it sits on. This will prevent the ATV1 from scratching the surface it is sitting on, and also improve cooling.

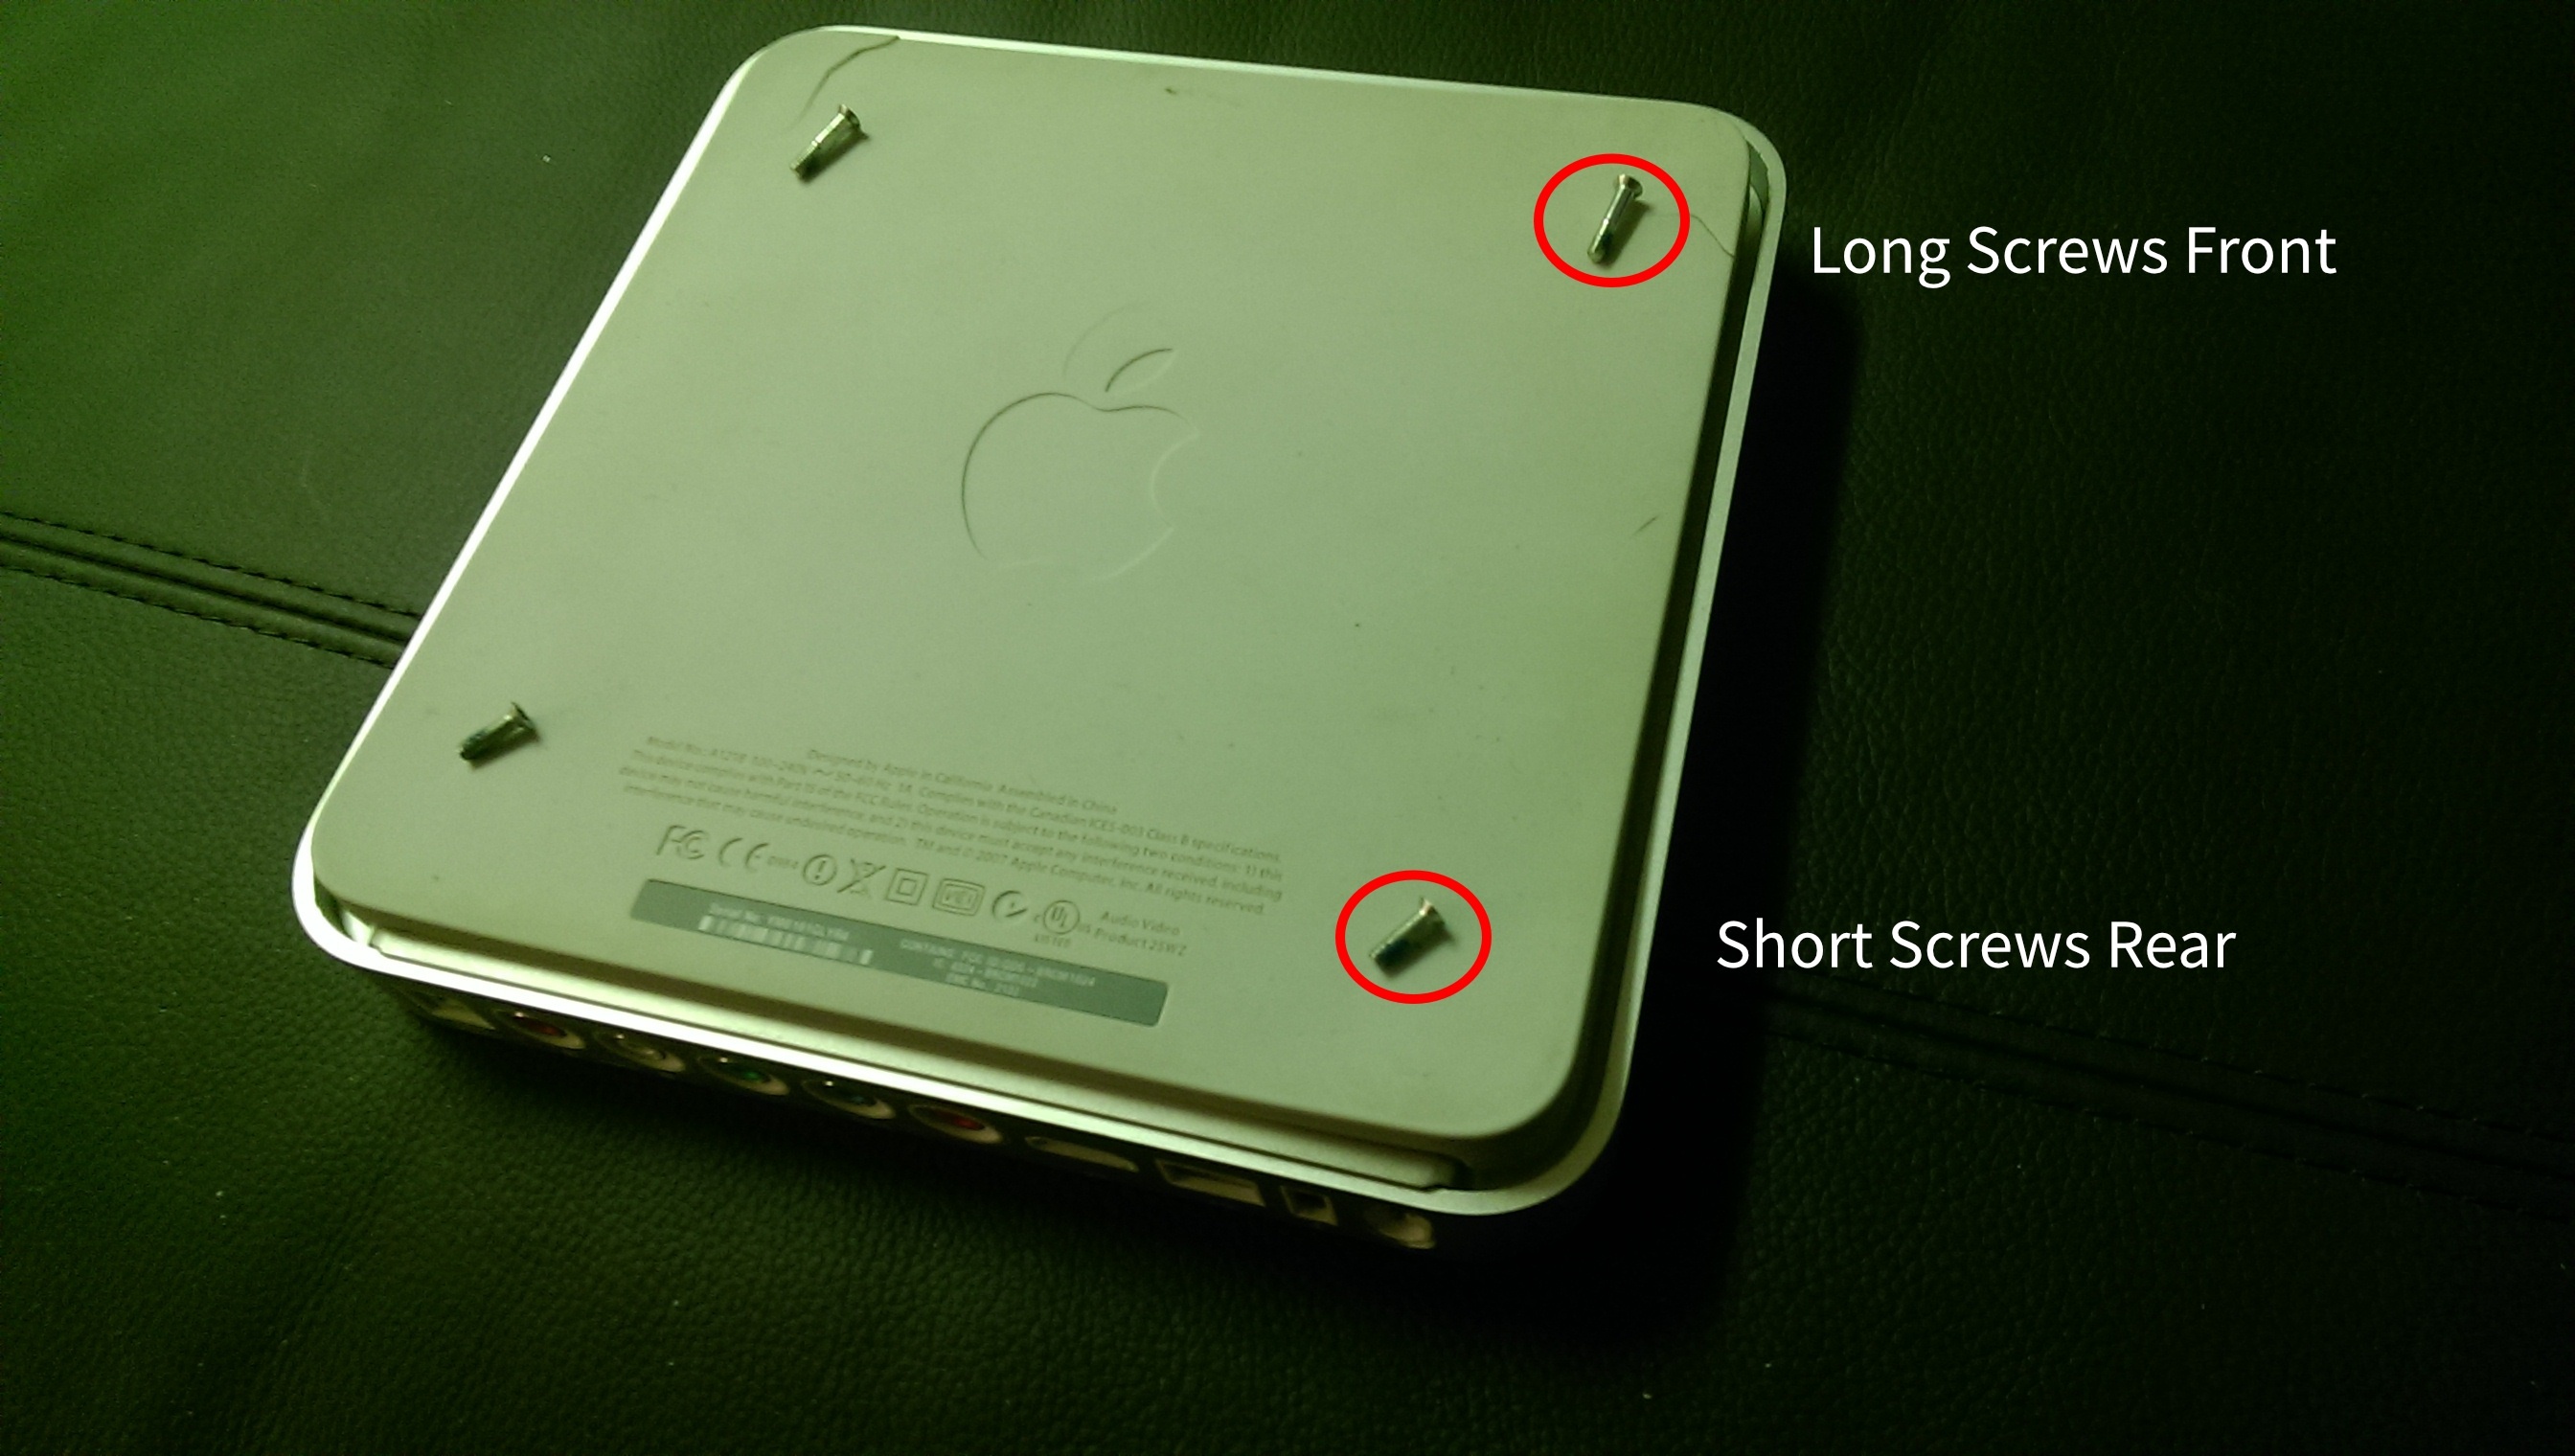
###Step 2 – Remove four screws
- Remove the 4 screws from the bottom corners of the ATV1 case, using a T10 Torx screwdriver
(Ignore the additional screws towards the middle of the case. These hold the hard drive in place)
###Step 3 – Remove the bottom of the case
- Lift the bottom cover straight upwards.
Warning: The Hard Drive is attached to the bottom of the ATV1 case.
When you remove the bottom of the ATV, be careful that you don’t damage the IDE cable that connects it to the motherboard.
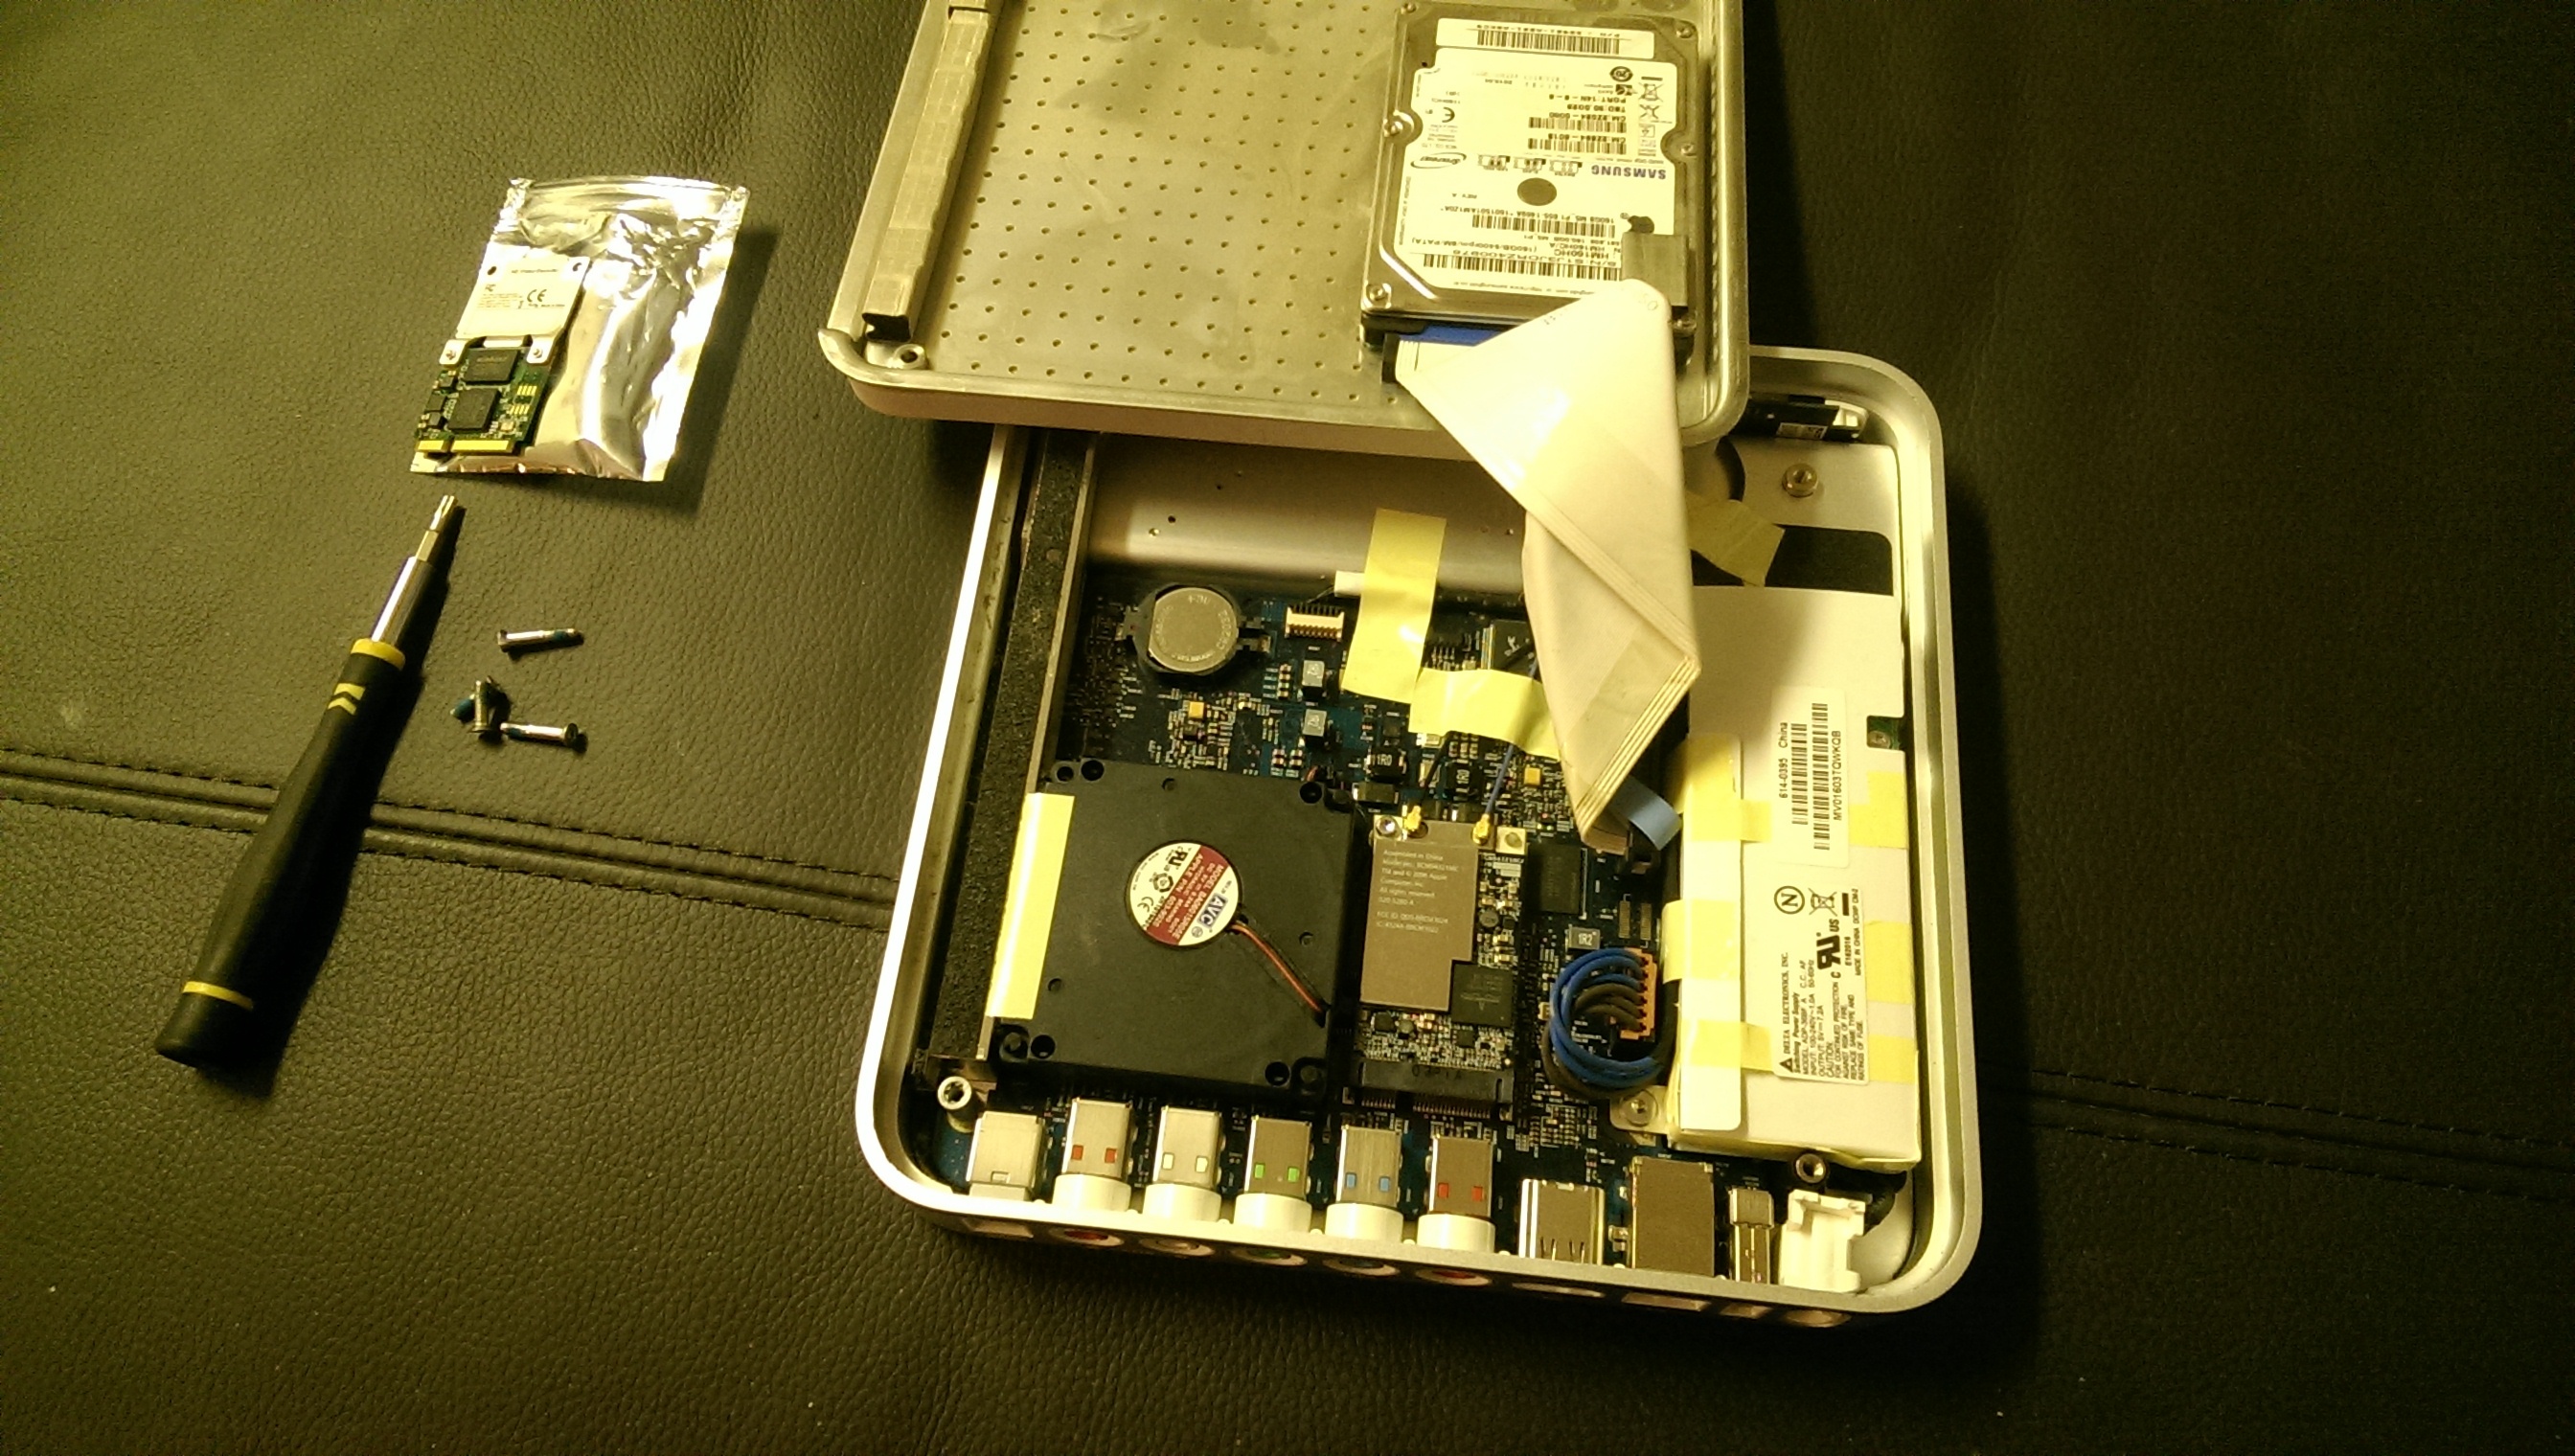
Bottom Cover Removed, Showing IDE Drive Cable.
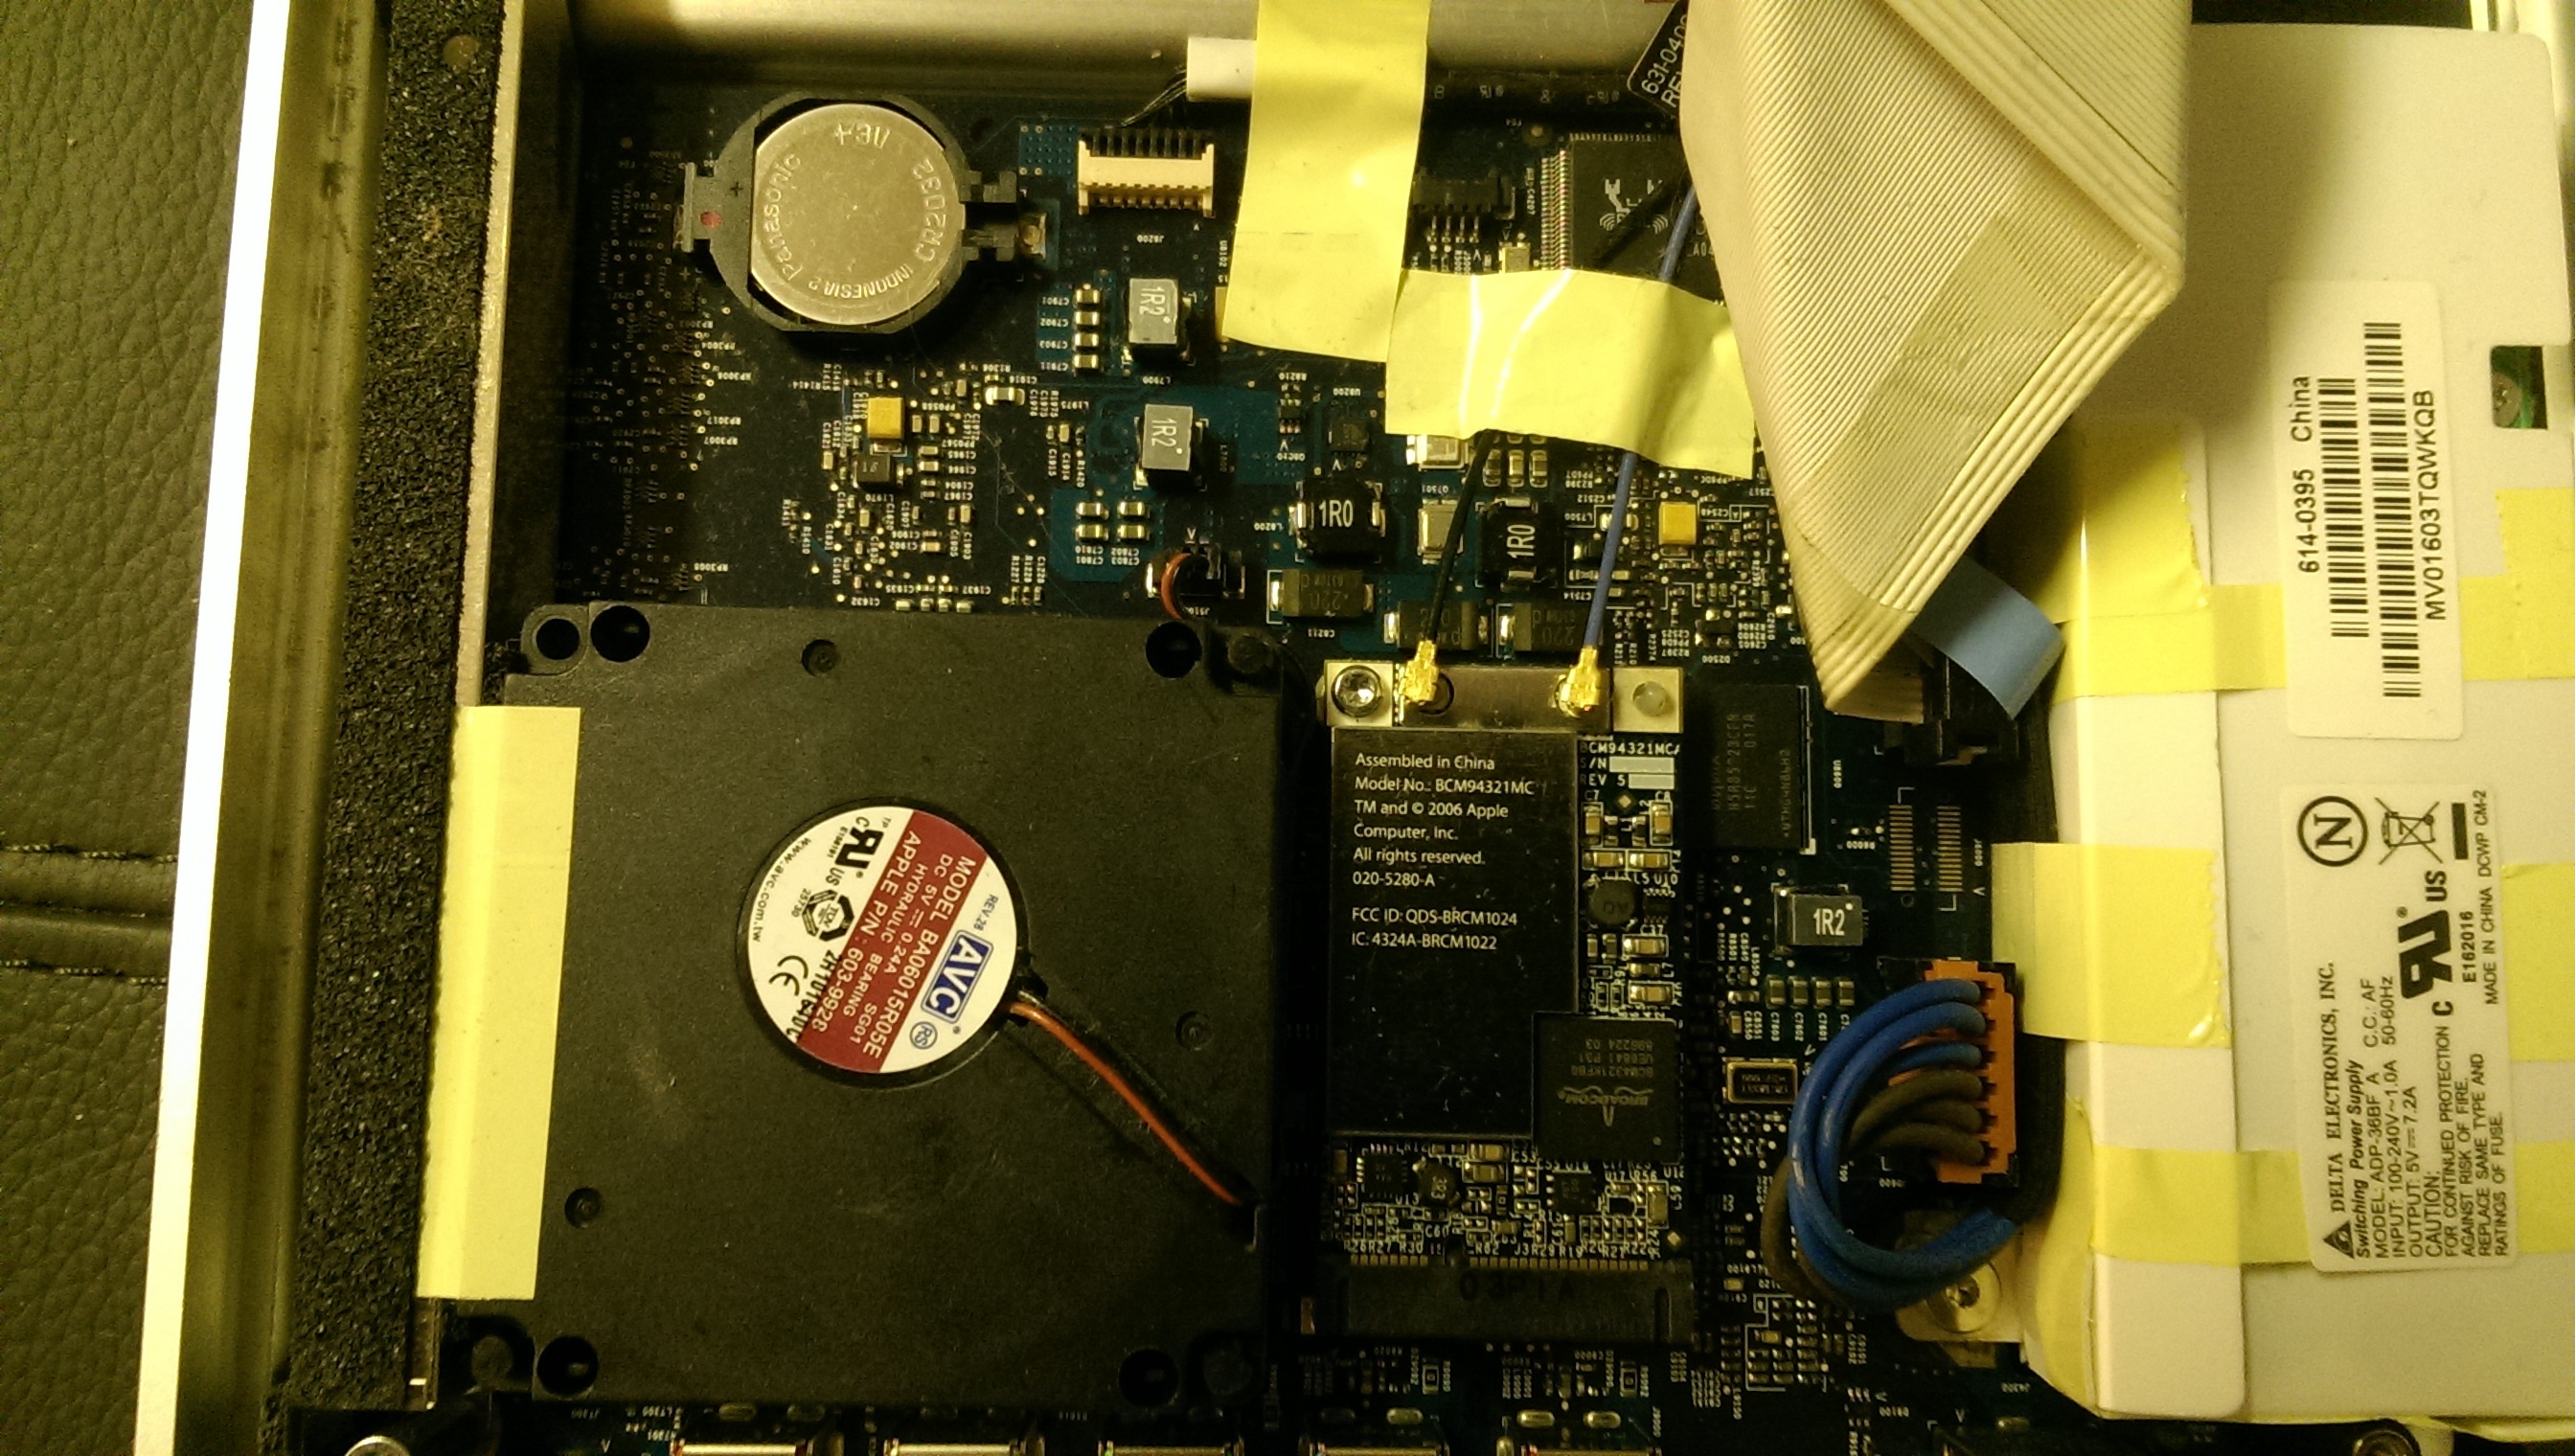
Motherboard, showing Wifi Card (lower right), and CR2032 Battery (similar to BIOS battery in a PC, on left)
###Step 4 – Remove the WiFi adapter
You need to remove the WiFi adapter and replace it with the Broadcom CrystalHD Card.
The Wifi adapter is beside the black cooling fan. It is plugged into a Mini PCI slot and has 2 antenna wires attached.
- Carefully remove the small black and grey WiFi antennae wires from the card, by lifting the little brass connectors straight up.
Be careful not to damage the wires, just in case you ever want to remove the CrystalHD Card and reinstall the revert the ATV1 back to stock configuration. - Remove the single screw holding the Wifi card in place, with a T8 Torx Screwdriver.
- Gently lift the WiFi card at the top, and remove it from the Mini PCI Slot.
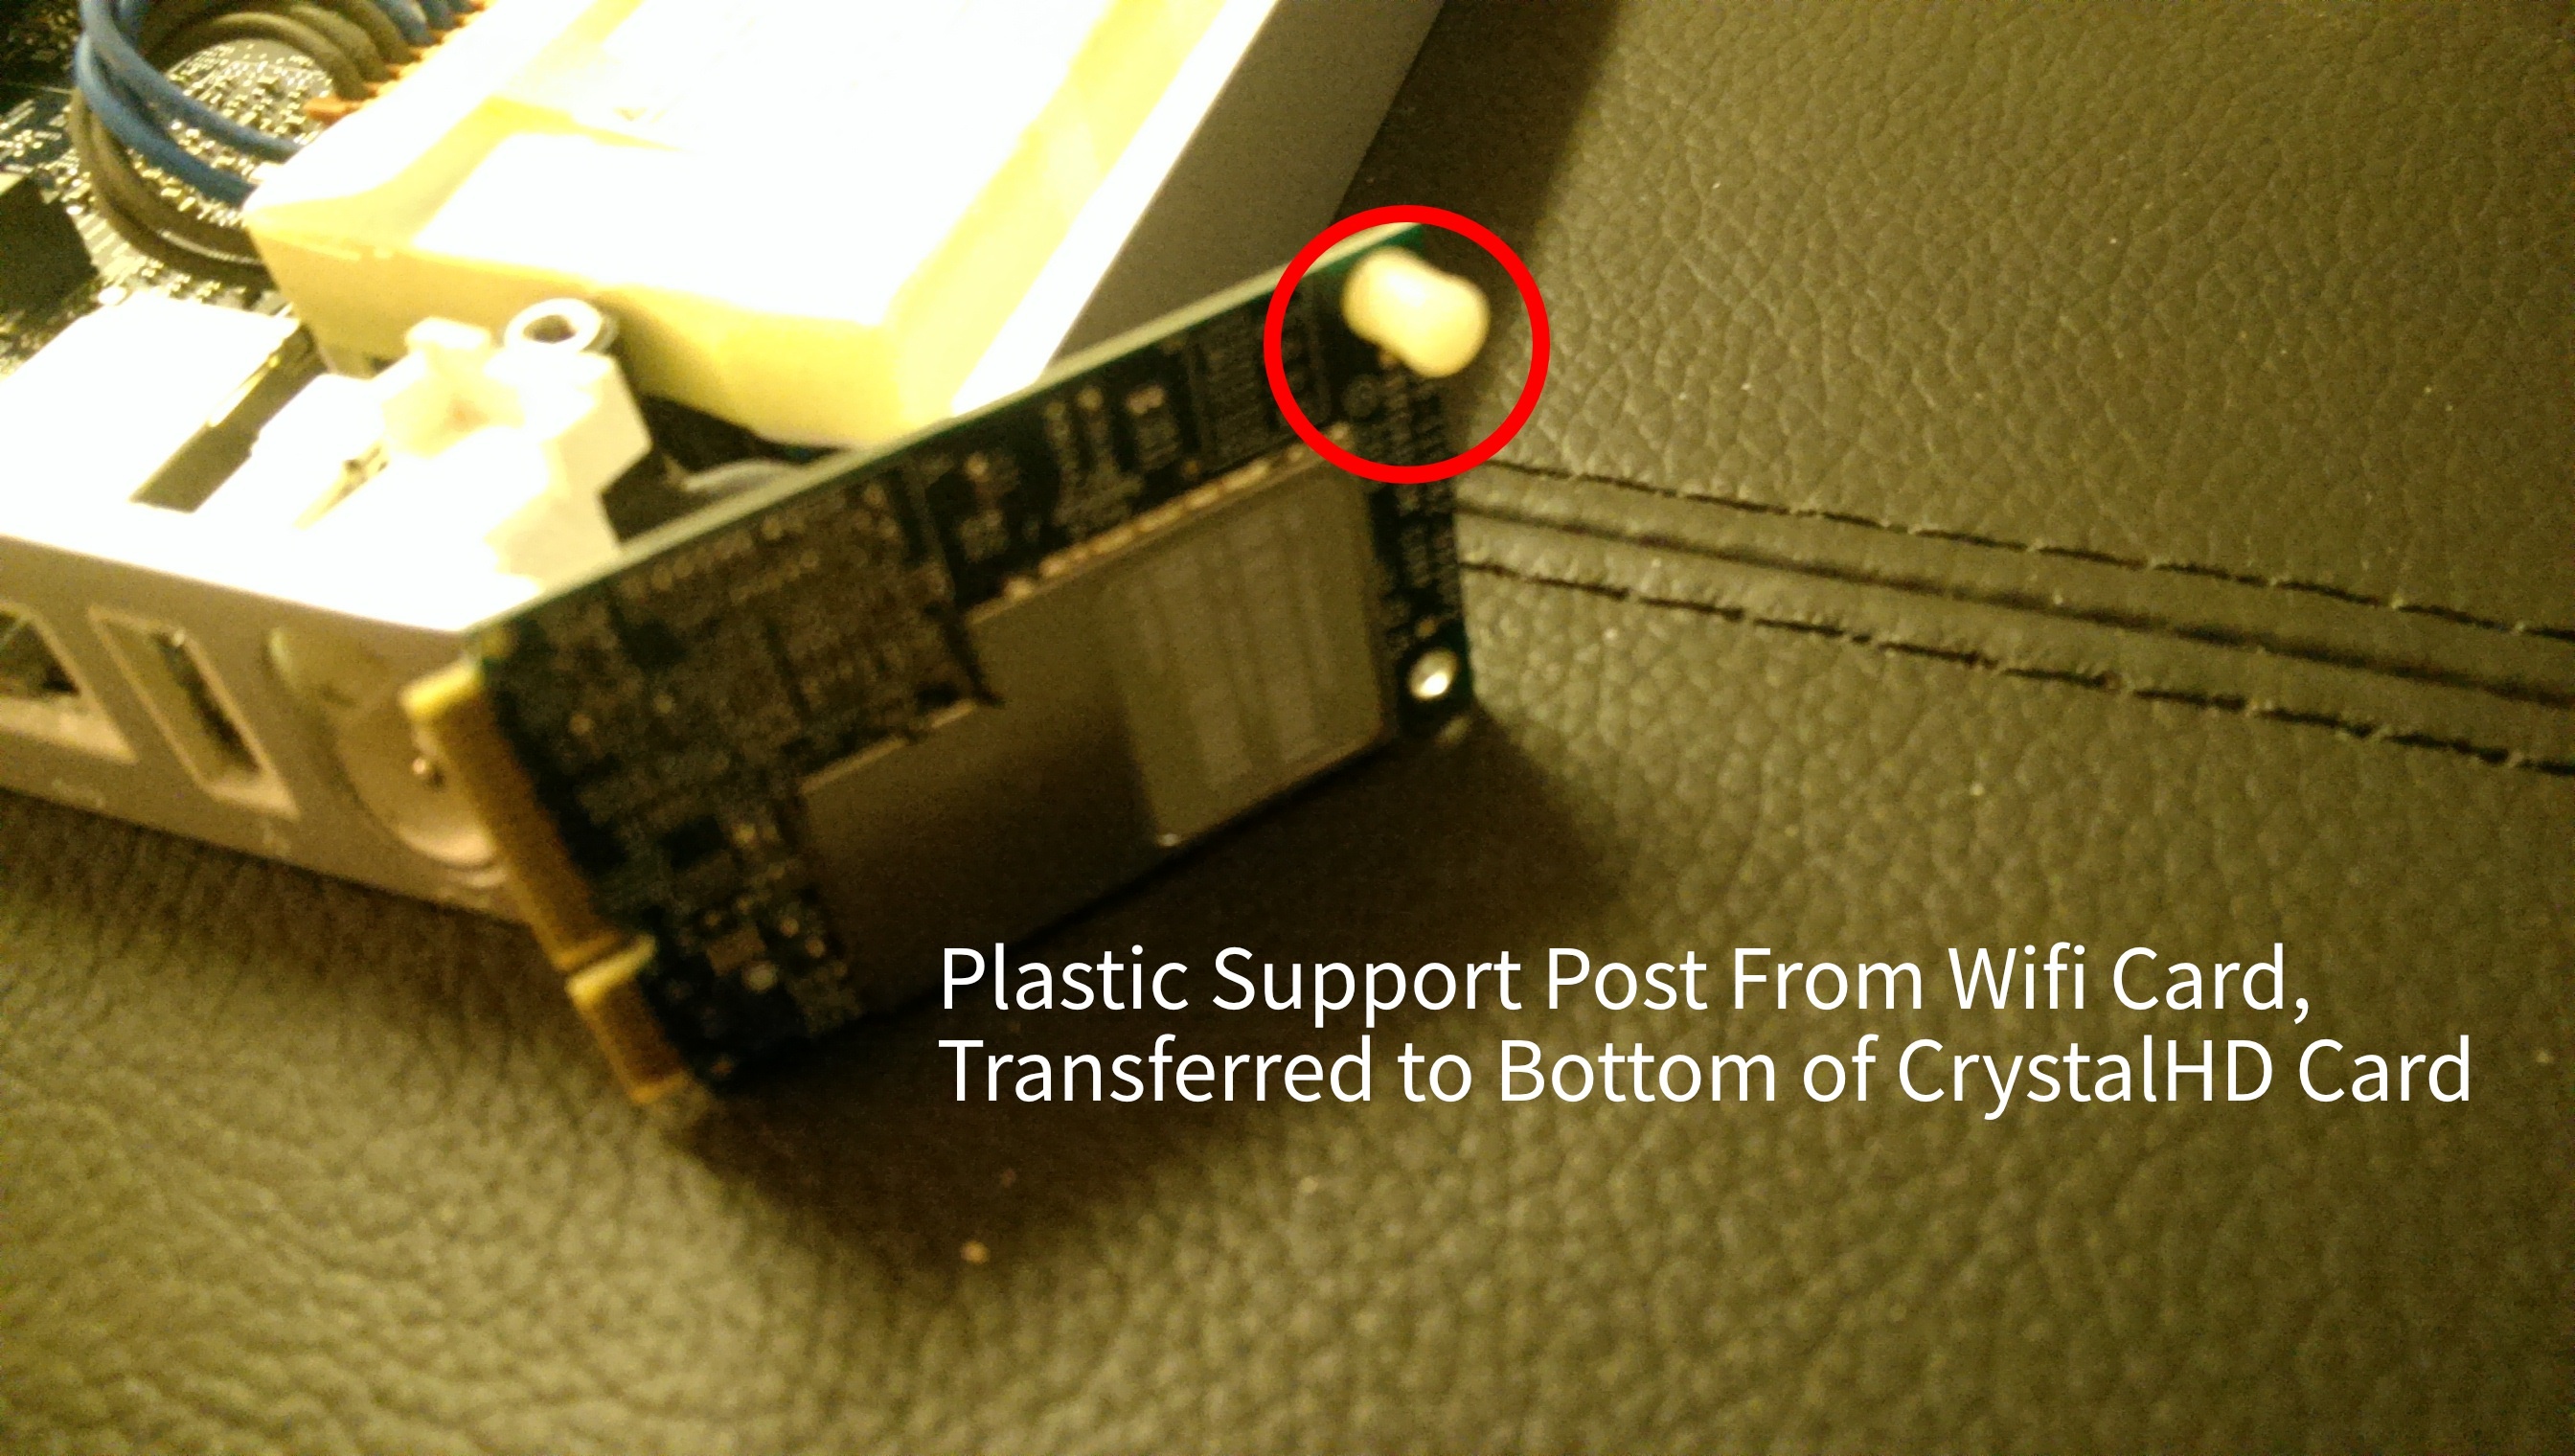
- Squeeze the top of the plastic support, and gently pull it from the hole in the Wifi card. Save it for reuse.
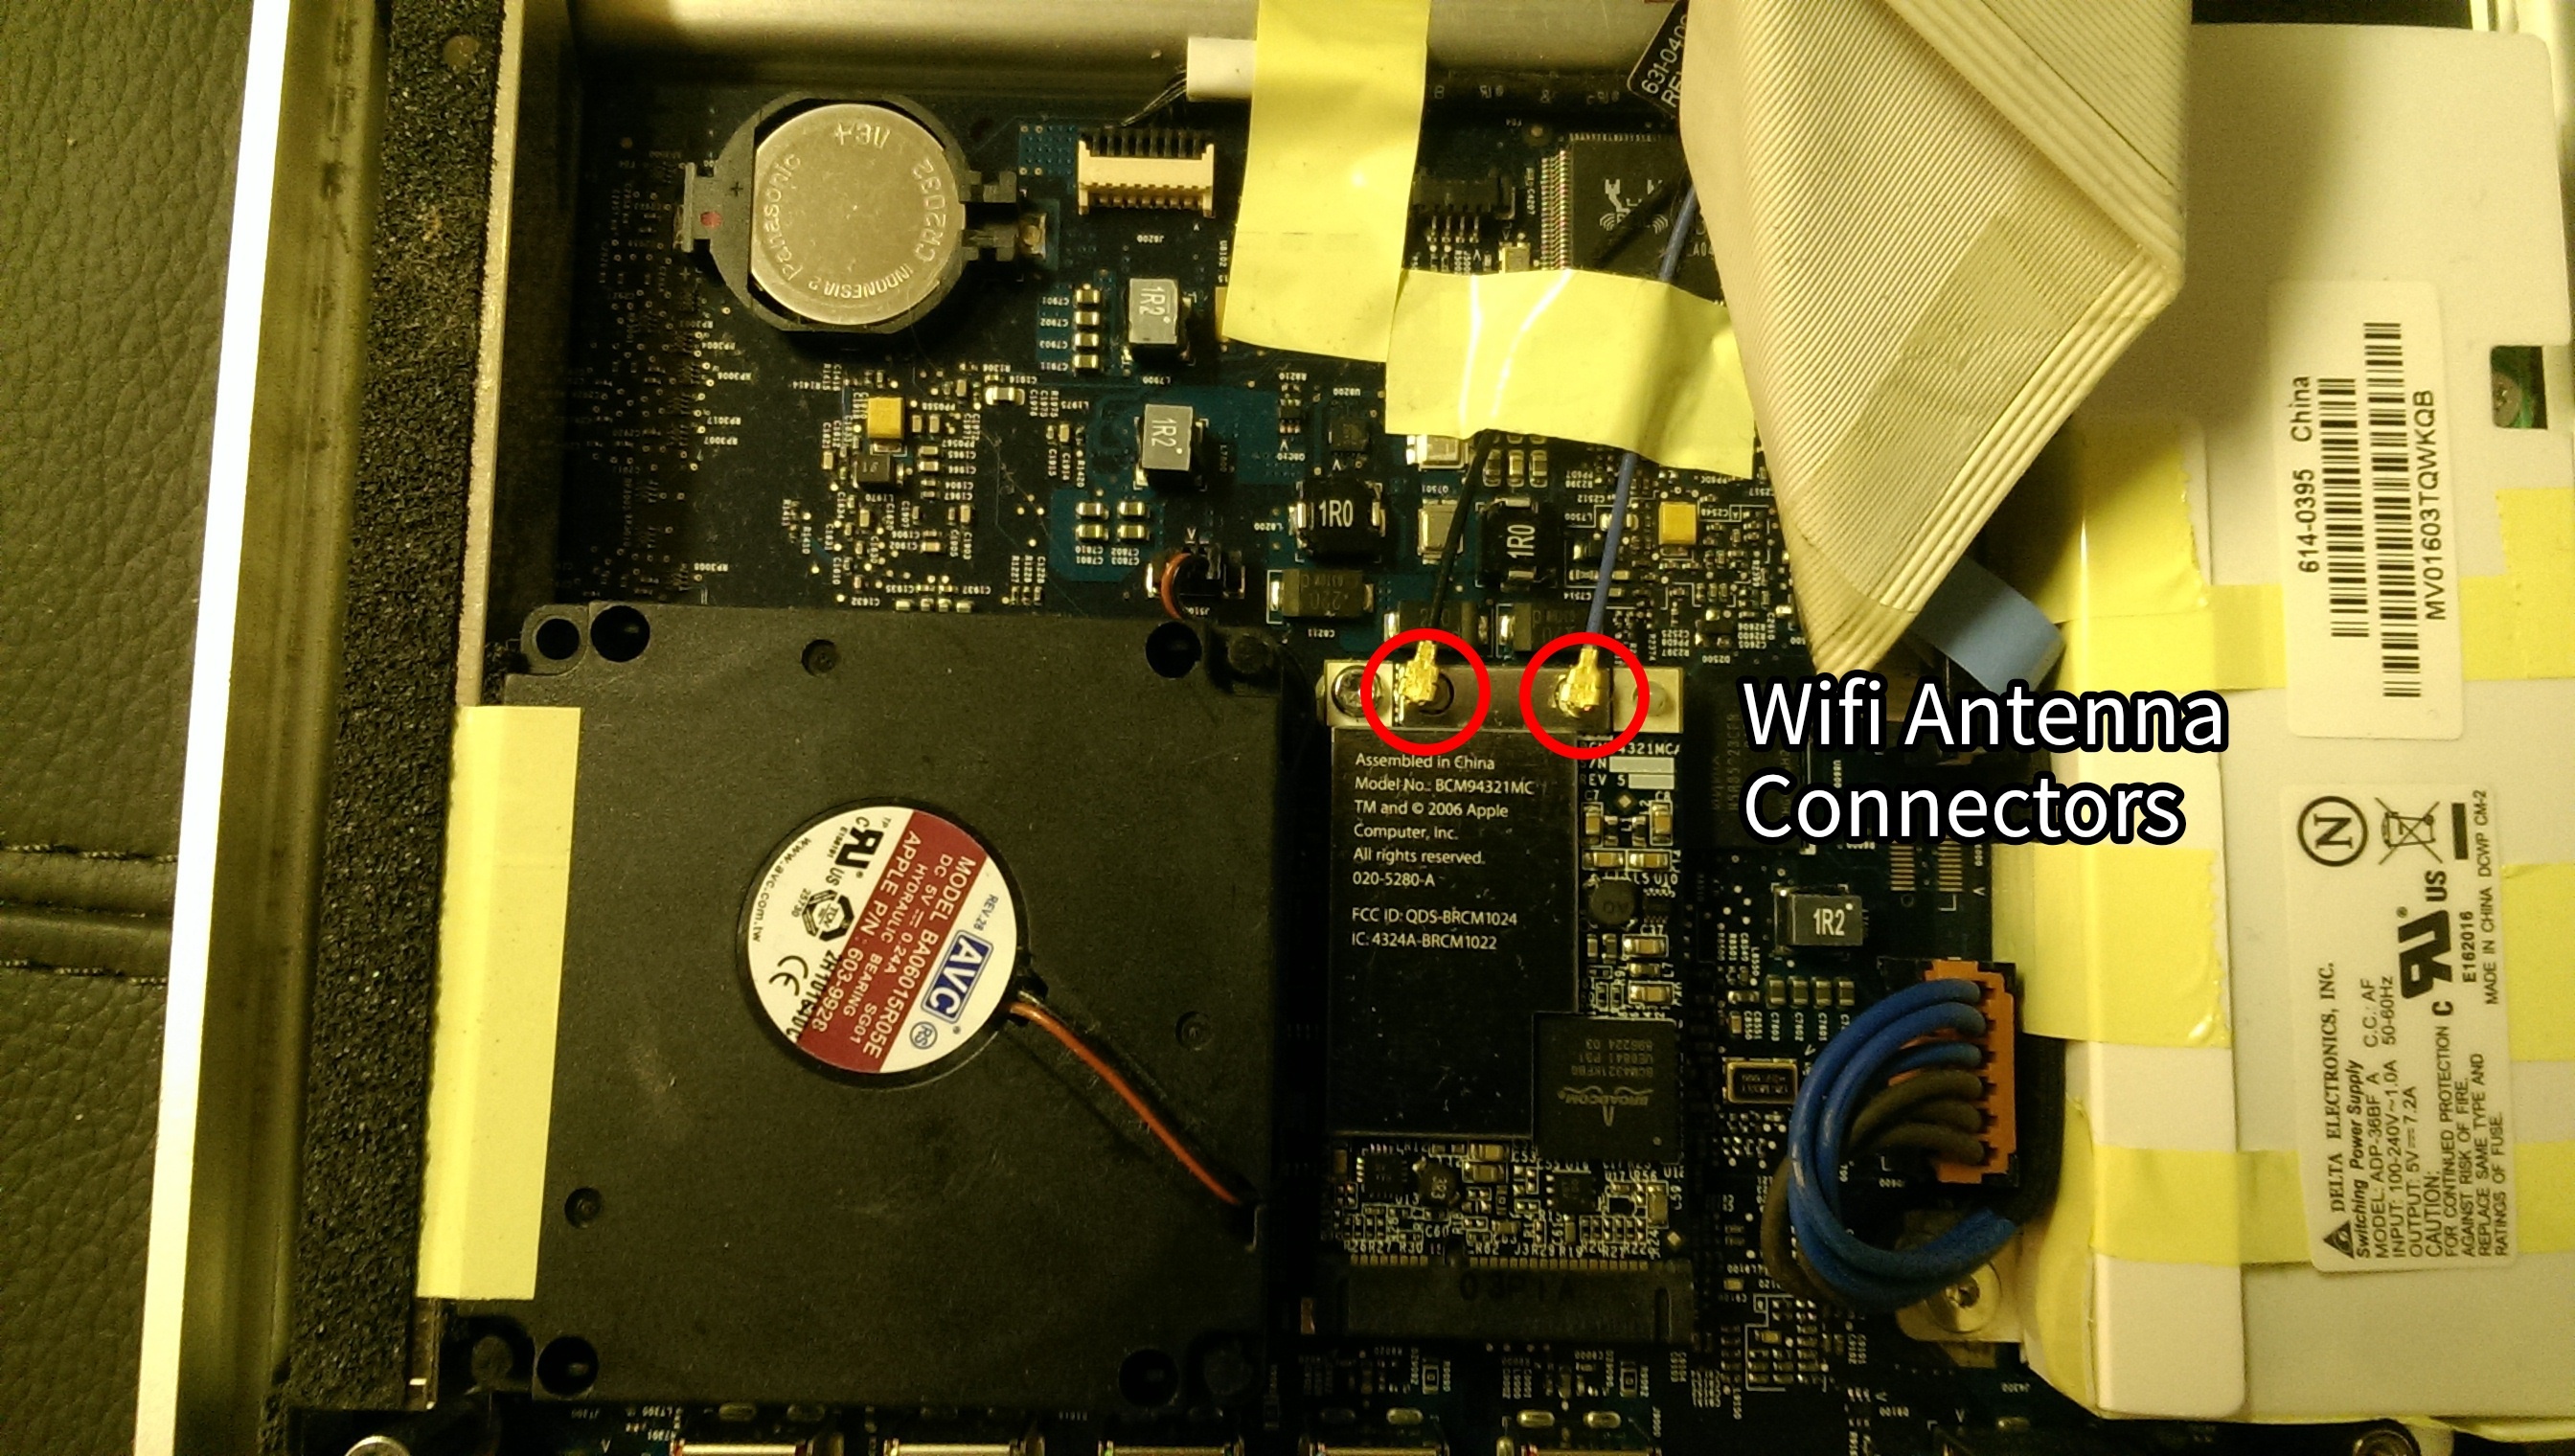
Removing Wifi Antenna From Wifi Card, by pulling connectors upwards
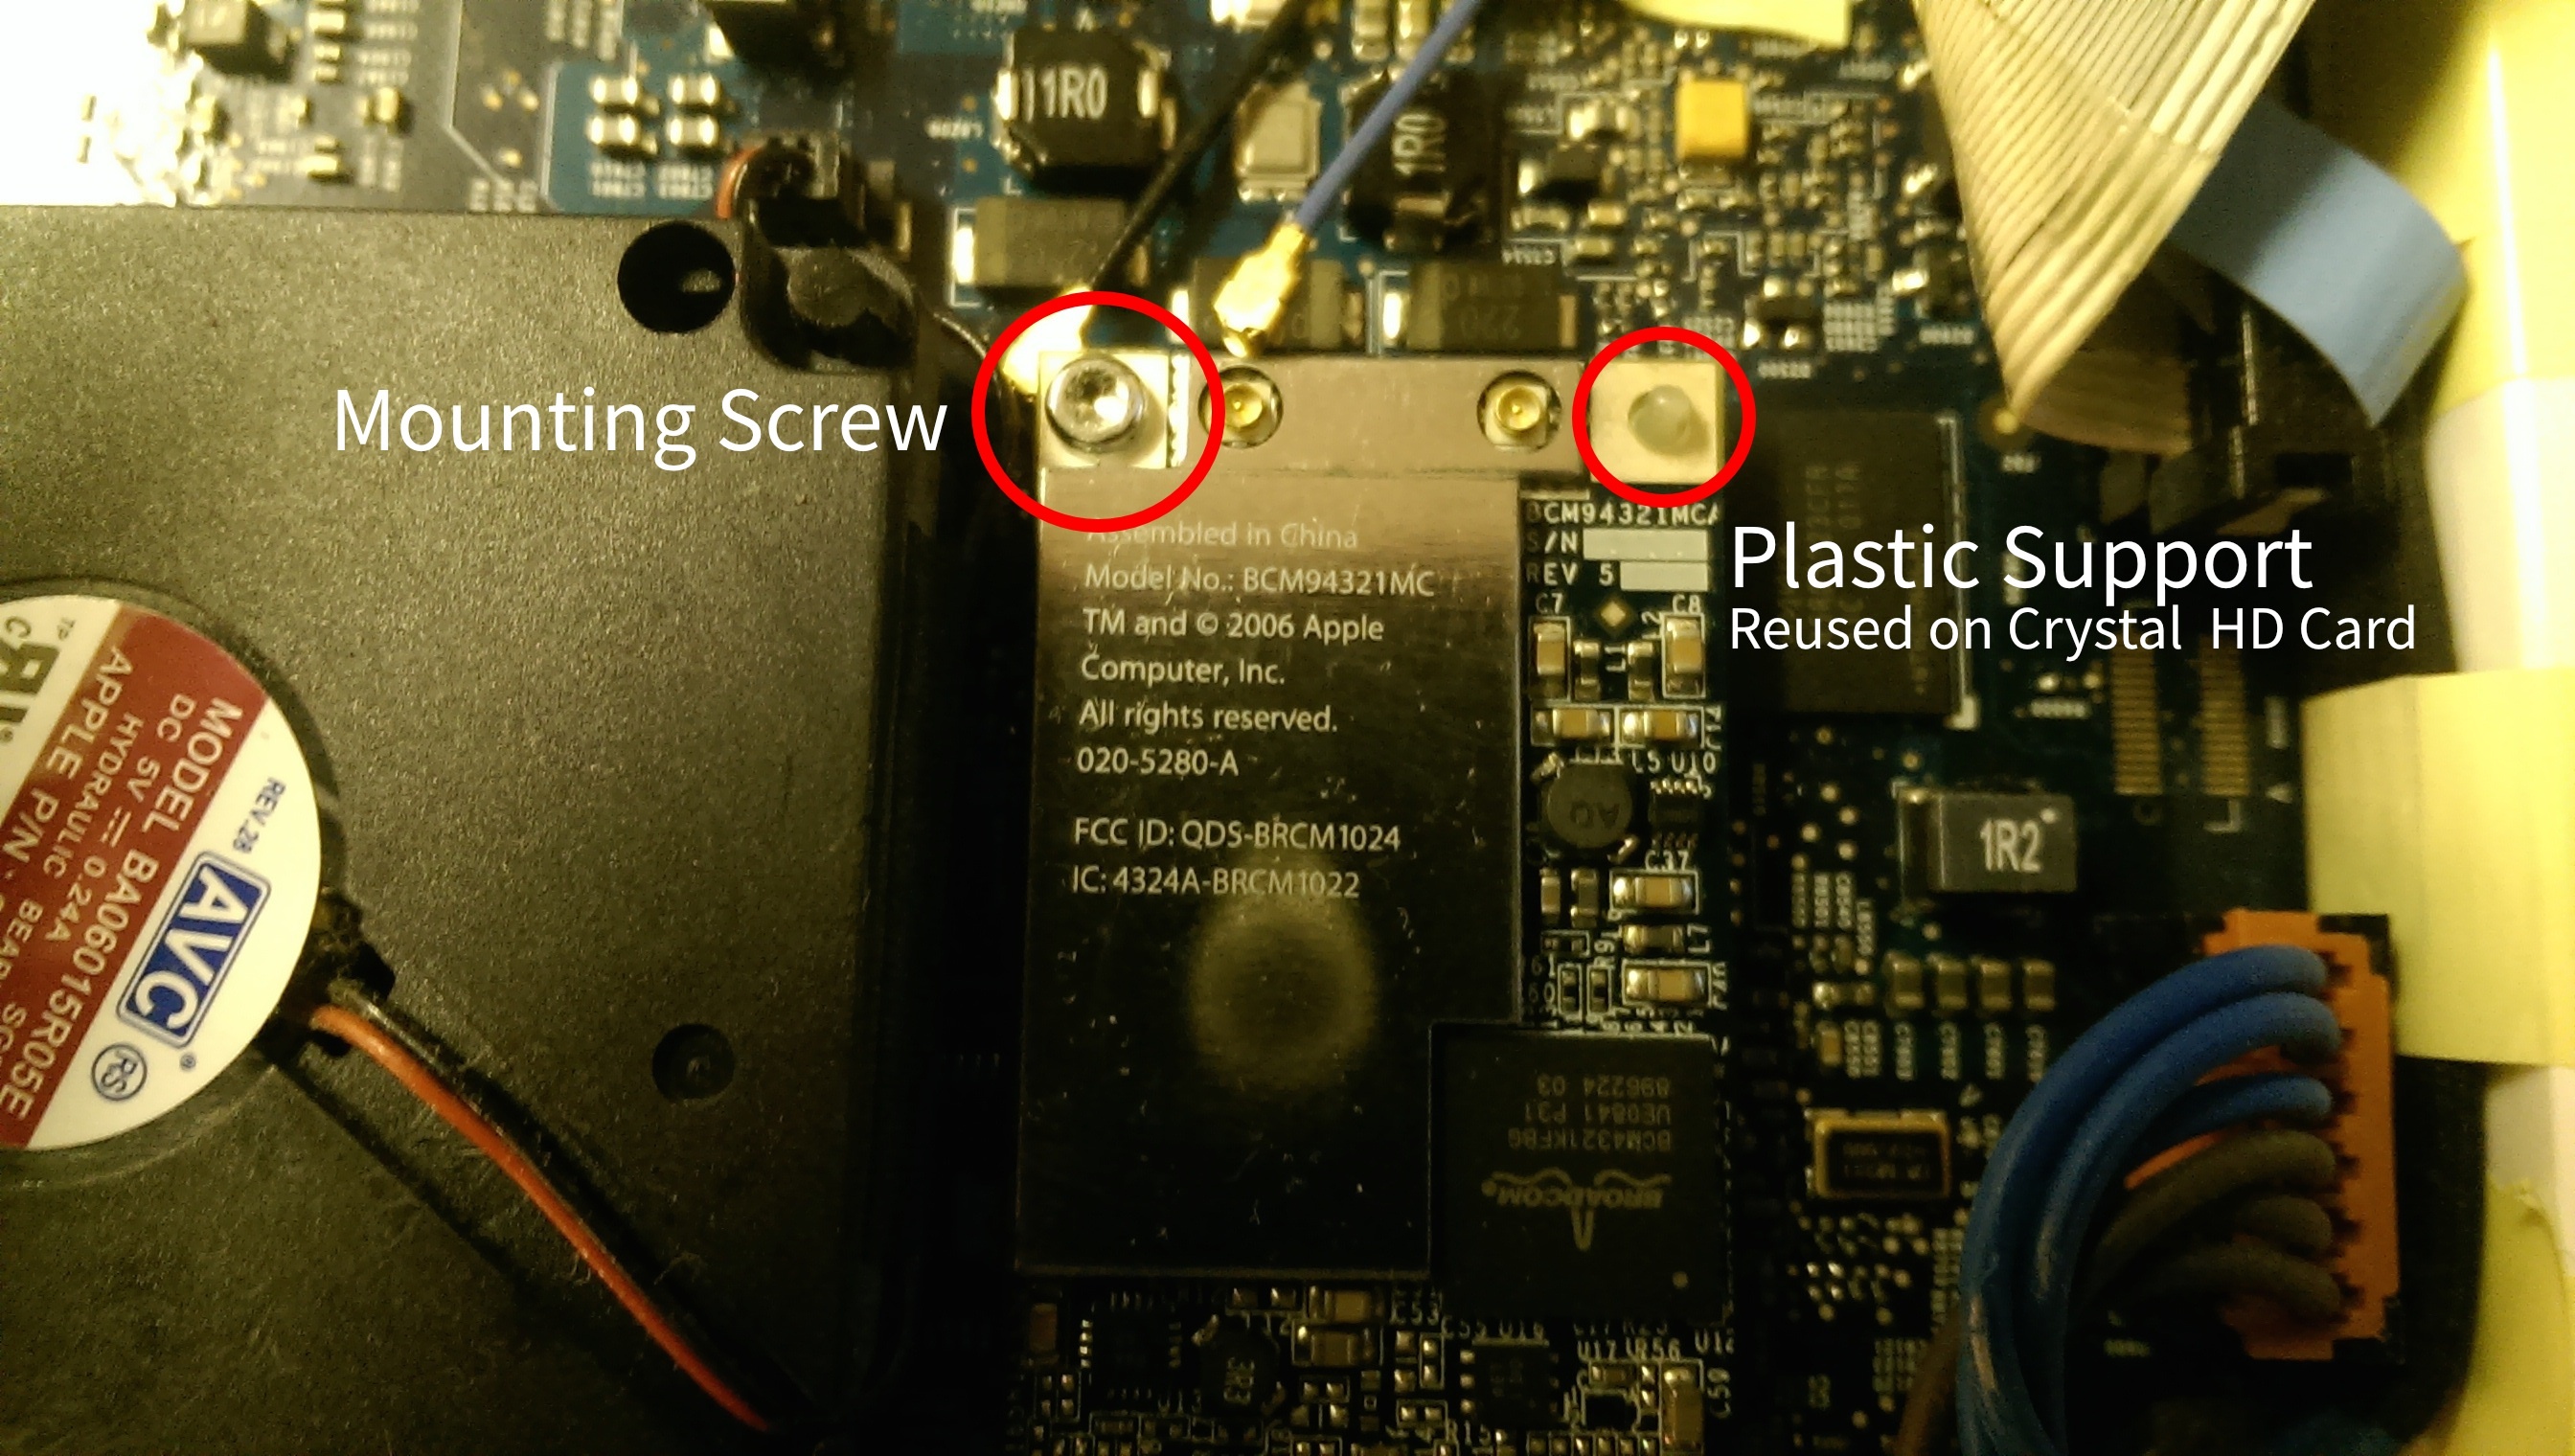
Mounting screw and Plastic Support which are both reused with the CrystalHD Card
###Step 6 – Install the Crystal HD (BCM70015) card
- Insert the plastic support into the bottom of the CrystalHD as shown below.
- Insert the CrystalHD card into mini PCI socket, where the WiFi adapter originally was.
The connector end of the card is designed so it can only fit one way into the socket. - Slide the card into the socket, and push the card down so that the mounting hole lines matches with the screw hole previously used by the WiFi card. Once the card is in position, screw it in place with the original screw.
- Protect the correctors on the unused antenna with some non-conductive tape
Make sure the antenna ends won’t accidentally touch any other electrical contacts or metal parts. - Secure the antenna so it is out the way.

Wifi Antenna connectors wrapped in non conductive tape, then secured so it doesn’t move around
###Step 7 – Replace CR2032 Battery (recommended, but optional)
- Carefully insert small screwdriver into slot in battery holder, and push battery sideways in direction shown in photo below.
- Remove battery and insert new battery in same position as original one.

###Step 8 – Replace the bottom of the case
- Carefully reinstall the bottom of the case, while making sure you don’t damage any wiring or components.
The metal lip on the edge of the bottom cover, goes where the video connections are. - Re-attach the bottom with the four Torx screws
###Step 9 – Enjoy your improved Apple TV 1